

Which signs do you need for your wedding?

A welcome sign sets the tone, but your wedding may also need a bar menu or a seating plan that guests can easily consult. The right choice depends on the day's schedule and the information your guests will need.
Here is how to choose between the five types of sign available, plan where to put them and prepare the wording. Start with their purpose: each sign should share useful information or a picture you want guests to see.
At the entrance: the welcome sign
Place it where guests arrive, somewhere visible without obstructing the way. Your first names, the date and a short greeting are enough to identify the event. Check how easily it can be read from the approach: this depends on contrast, the length of your names, the light and the available viewing distance.
Personalise the heading and first names in the preview. A short phrase leaves more space for the names. Check accents and the balance of the entire text, particularly if the two names have very different lengths. The background can echo a colour from the invitation or flowers.
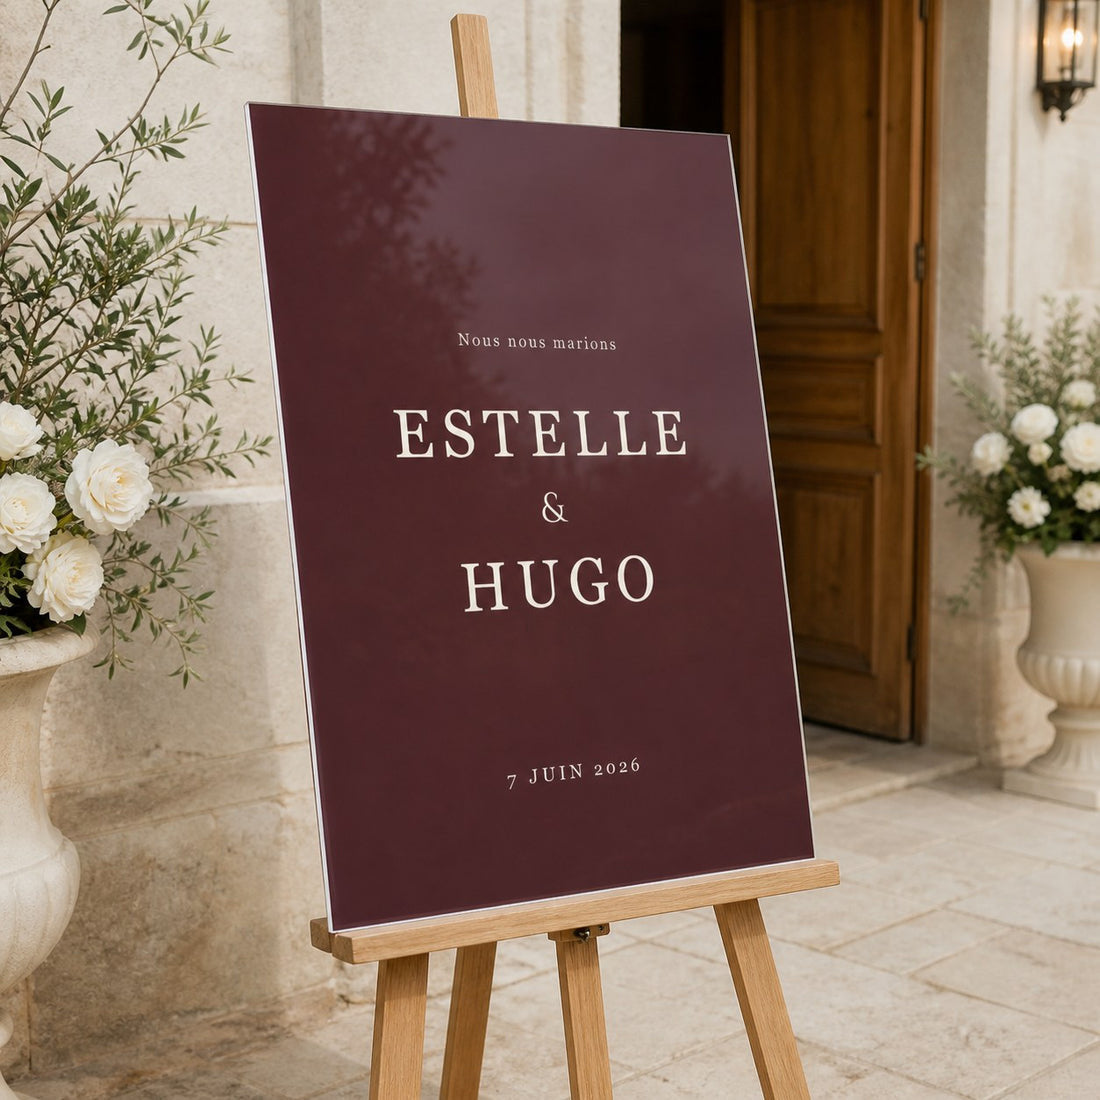
For the welcome sign, compare the sizes listed on the product page. A 50x70 sign can accompany a welcome table; an installation viewed from further away may call for a larger surface. Mark out the dimensions in the intended location before choosing.
At the drinks reception: the bar menu
A bar menu presents the drinks without guests having to ask for the full list. Place it where they can read it before ordering. It remains useful even with a small selection, particularly to distinguish cocktails with and without alcohol.
Keep names short and ingredients easy to scan. When entering the text, one line can combine the drink's name and its ingredients. Check the result using your actual list: six long descriptions take up a different amount of space from three brief names.
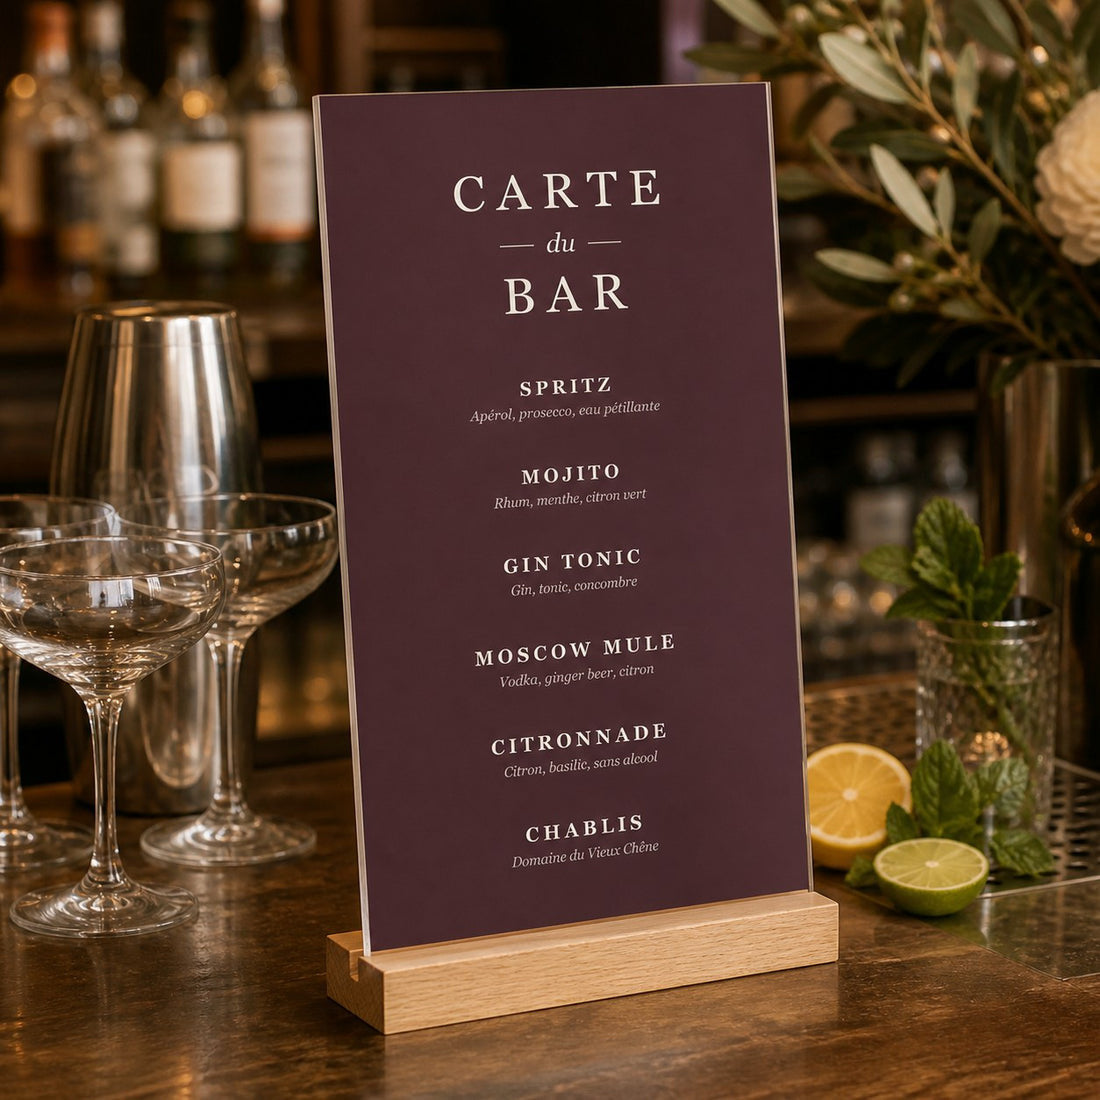
Choose the bar sign according to the counter's surface and position. Allow a space that remains visible once the glasses, bottles and serving area are set up.
Before dinner: the seating plan
Guests read a seating plan up close. Put it before the entrance to the dining room, leaving enough space for several people to stop. Avoid placing it in a narrow doorway or behind decorations that would hide the first lines.
Prepare the table names and guest lists before settling on a size. The dimensions available for these signs include:
- 50x70: an option to compare for a short list viewed at close range.
- 70x100: more room to arrange tables and names.
- 80x120 and 100x140: options to consider for a larger composition, with suitable support.
Capacity depends on the number of tables and the lines in each group. The configurator flags a plan that is too crowded for the chosen size. Check every table in the preview; if necessary, choose another size or clearly divide the guests between two signs.
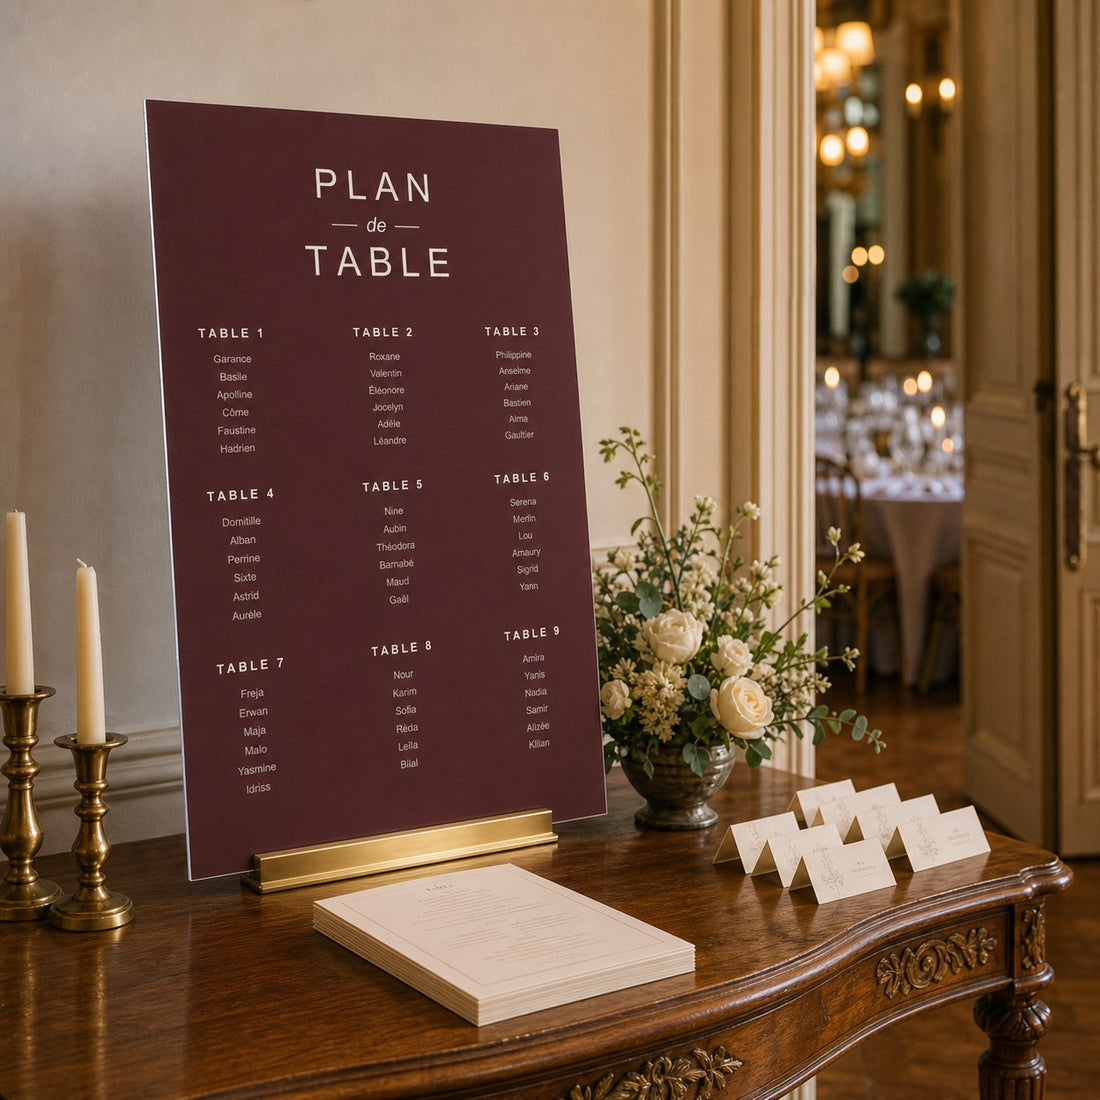
On the personalised seating plan, also check the order of the groups. Matching names on the sign and the tables help guests find their way. Ask a second person to check the list before approving it.
The photo sign: share a picture
A photograph of the couple can stand near the guest book or welcome area. For the photo sign, use the original file where possible and check the faces and crop. For a print intended for your home, also compare the personalised paper print.
If several memories matter to you, the photo collage print brings them together on one print. Select pictures for how they complement each other and where each face sits, instead of simply filling every available space.
The car sign for departure photographs
The car sign comes in a horizontal 50x35 size. A short phrase, your first names or the date can be enough. View the whole arrangement on the parked vehicle to prepare your photographs and work out where the text will remain visible.
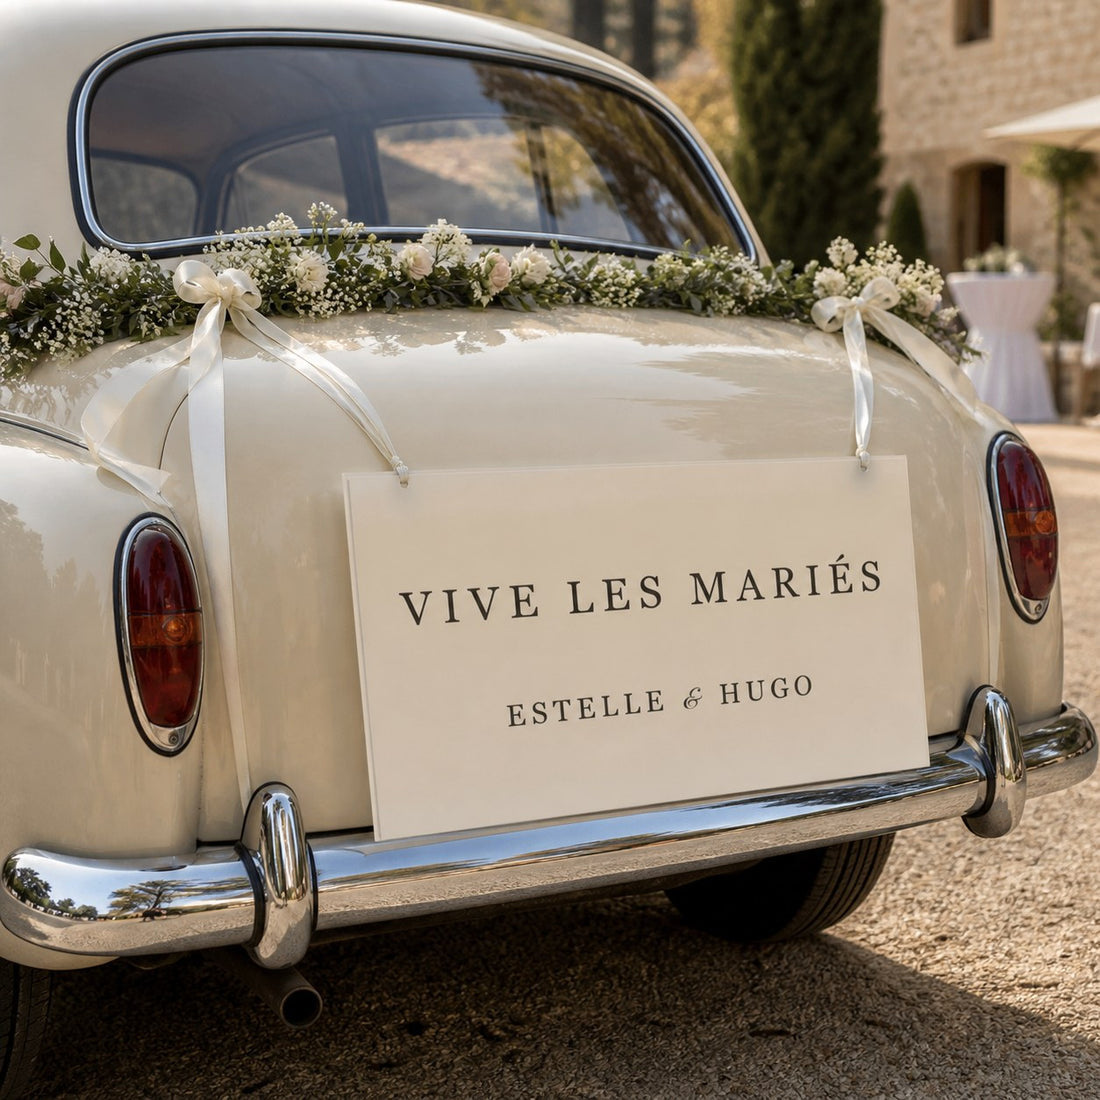
Check the car version for the holes and intended fixing method. Plan the installation with the person responsible for the vehicle, taking its bodywork and the available position into account.
Plan the support and lighting
These signs use rigid plexiglass. Ask the venue whether an easel or hanging position is available, then check that it suits the chosen dimensions and weight. Hole options can be checked on the model's product page.
Outdoors, choose a stable position and discuss the installation conditions with the venue. Indoors, look for reflections from windows and lamps. A colour that reads clearly on screen also deserves checking under the lighting planned for the reception.
Plan your order around the event date
Check the production and delivery information when ordering, then allow time to review the wording and resolve any corrections. The wedding date, accents in first names and the latest guest replies are the points to check together.
If anything remains uncertain, clarify the schedule before purchasing. The frequently asked questions page adds to the product information. Keep your final list in one place to avoid sending two different versions.
Choose the signs your day will use
A clearly identified welcome area and a seating plan can form a useful starting point. Add a bar menu if you need to display a drinks list, then a photo or car sign if it suits your plans. Not every wedding needs all five.
After the celebration, you can combine a photograph and a botanical illustration in a wall of framed pictures. Choose the picture for the living room or bedroom where you will actually enjoy seeing it.
Our advice on sizes above a sofa and wall colours will help you bring those memories into your home.
Prepare your wedding signs
Choose the design, size and wording, then check the composition in the preview
Design my signPrepare your sign and check its preview.
Design my sign

